
Starting Your Summer Garden
By - Emma Rauschert
The best time of year is when Christmas decorations are stowed away, and stores bring out the gardening supplies. I notice my heart jumping when I see bags of soil, seeds, and grow kits hitting the shelves. February is a great time to start seedlings. Start by obtaining seeds, whether ordering online, buying from a nursery, or using saved seeds from the previous summer. Read your seed packets to ensure you start at the right time. Check for the average last frost-free date in your county, typically the end of April in Central Illinois– this determines when your seeds can start indoors. Some seed packets recommend 4-6 weeks before the last frost-free date, some 10-12 weeks before. Don't start your seedlings too early– this is a common mistake that can harm seedlings. To start indoor seedlings, you will need light, containers, seeds, soil, and labels. Planting seedlings does NOT have to be intensive. You can plant one seed in a red solo cup with a drainage hole and watch it grow. There are multiple different methods to start seedlings. I will be describing the most common method.
When to start seedlings:
February: Peppers, tomatoes
March: broccoli, cauliflower, cabbage
April: cucumber, melon, squash, basil
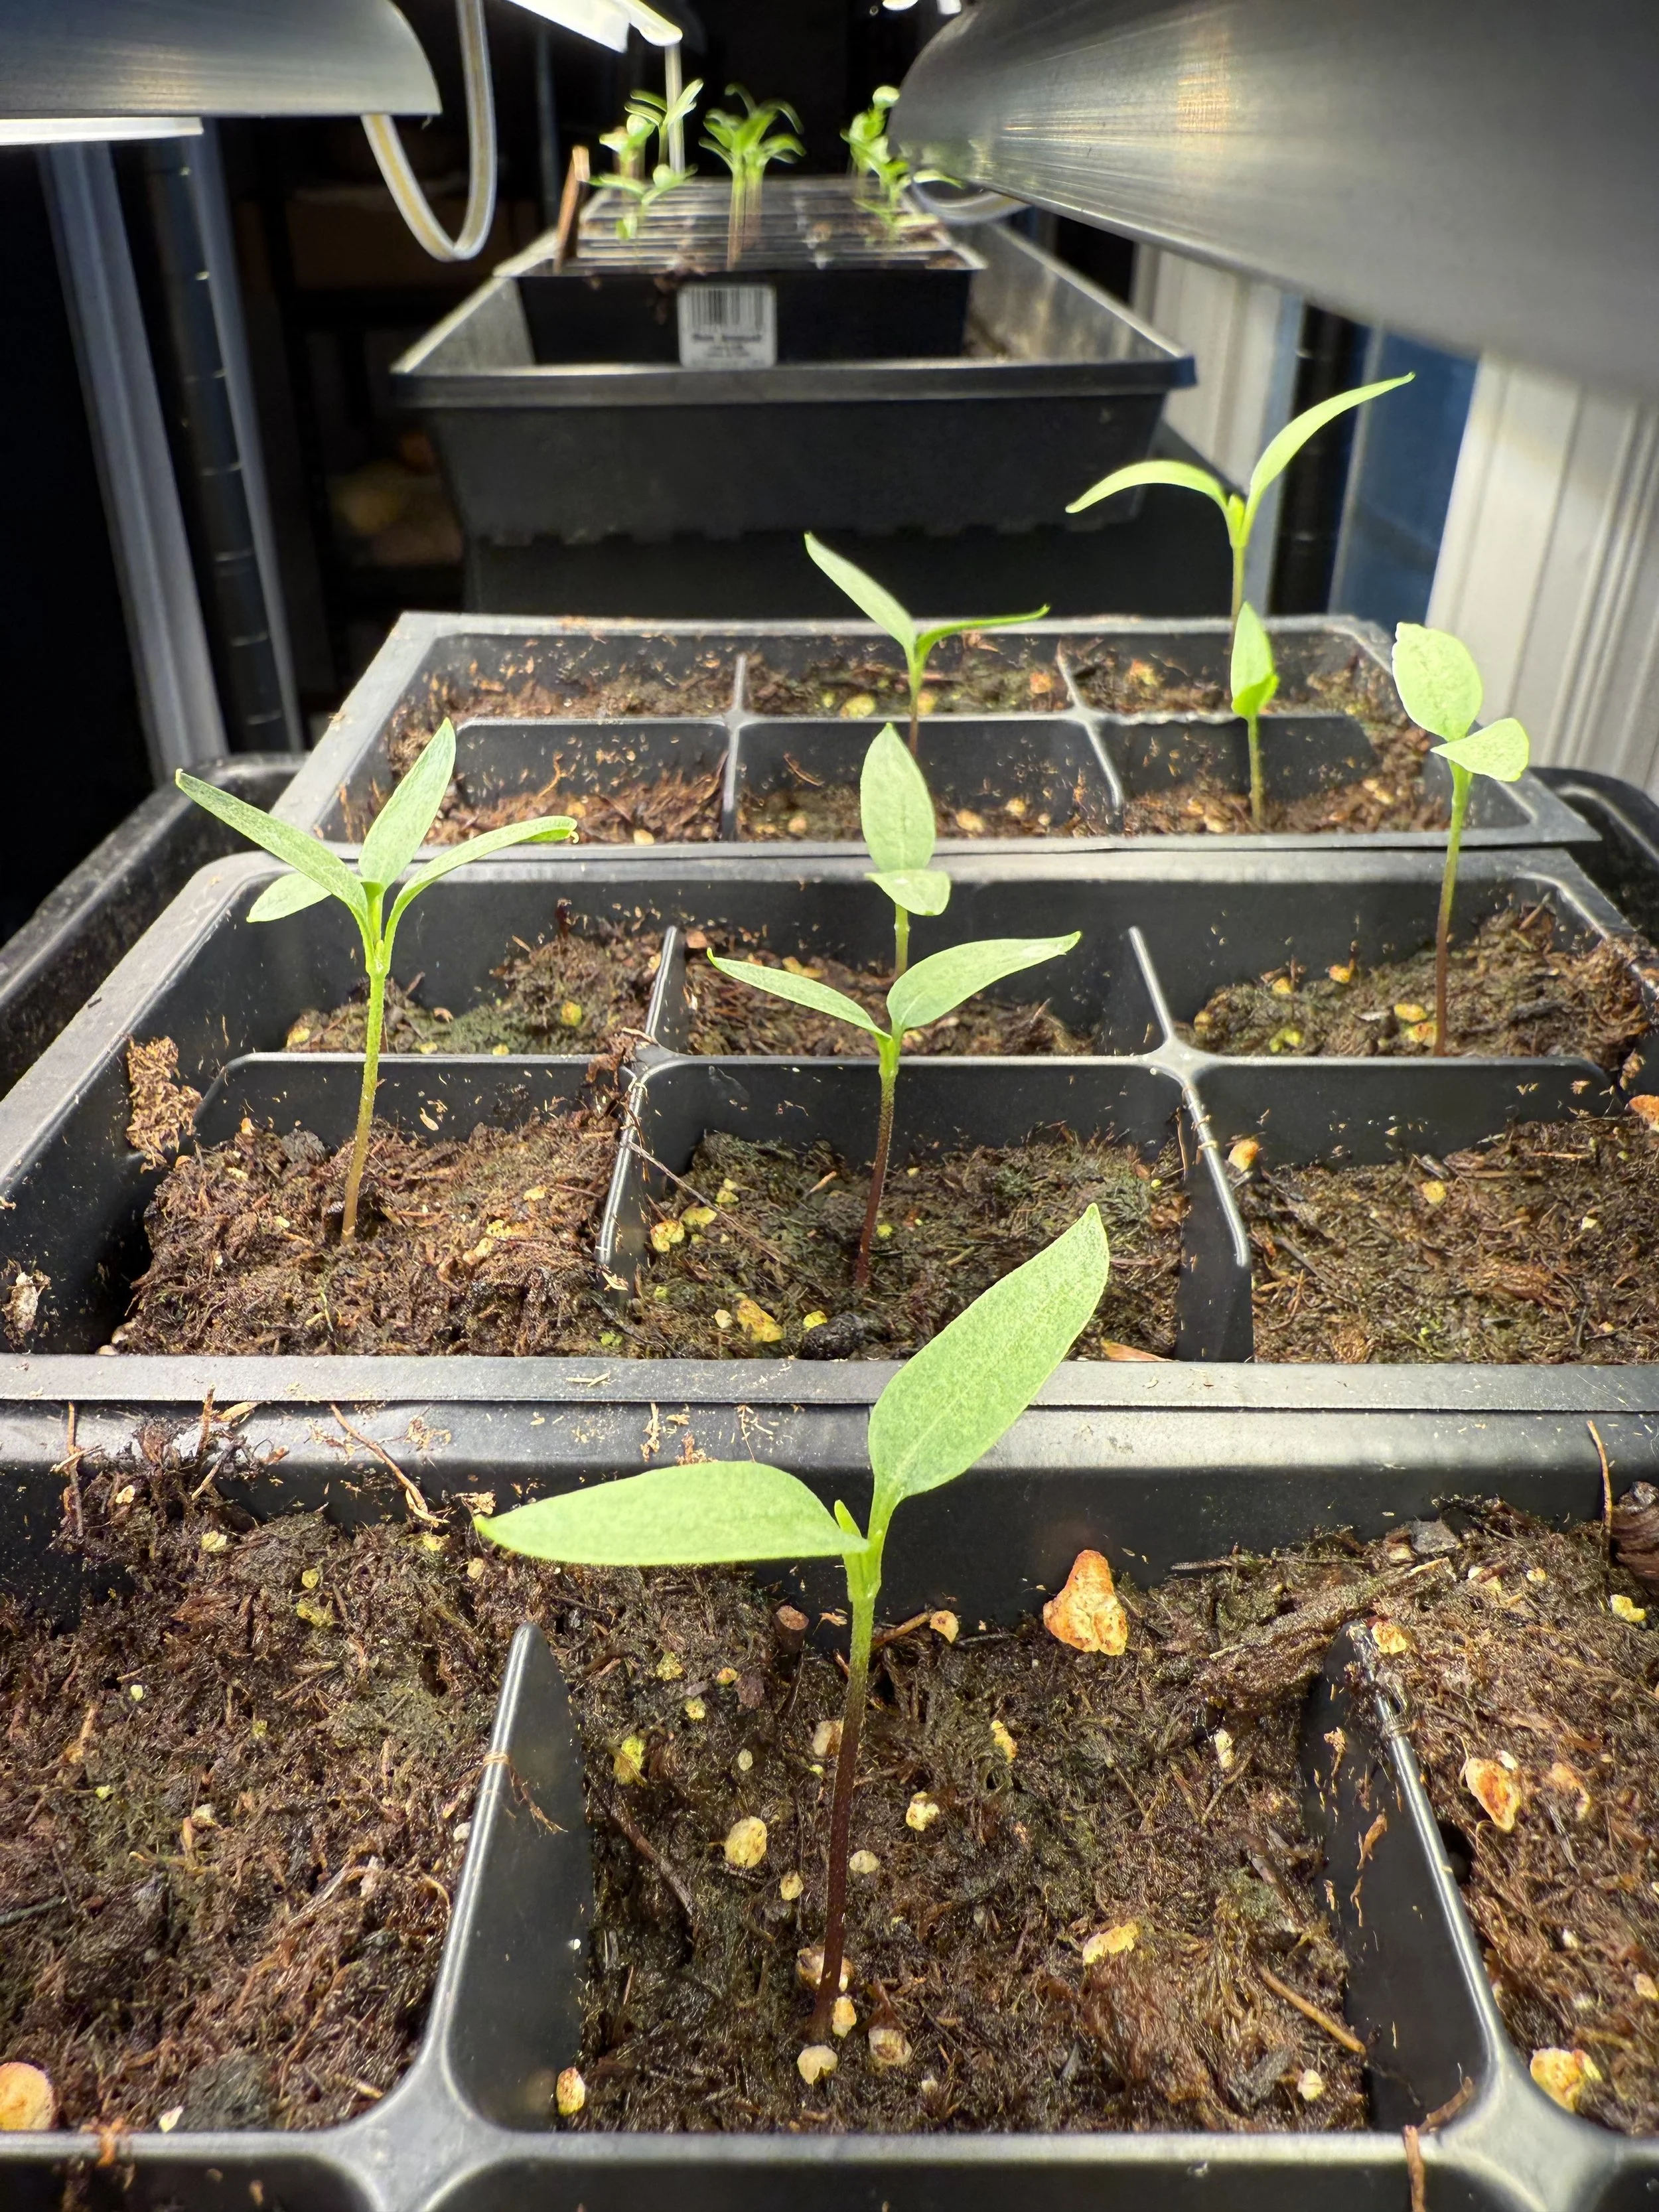
First, find a good location for your seedlings. If you aren't using a grow light, you want to locate the sunniest place in your house, though I do recommend using grow lights of some kind to get the best quality plants. You can start seedlings in your basement without any natural light by using grow lights. I use grow lights along with sunny windows so the plants get the best of both worlds. Illinois winters have so many cloudy days that seedlings may grow leggy if you don't use grow lights. There are many different types of grow lights you can buy. You want an overhead light source, not one from the side, and lights that are either LED or fluorescent with full-spectrum bulbs. When putting the lights by your seedlings, keep them close enough so that the plants are not reaching towards them, causing them to get leggy and collapse, but also not close enough that the bulbs burn your seedlings. Lights should hang about 2-3 inches above the plant foliage. Keep the lights on 12-16 hours a day for best results.
The right kind of soil is crucial for starting seedlings. You can make your own mix of soil or buy some. Seeds need lightweight, moisture-retaining, well-draining soil. I recommend purchasing a specific seed-starting soil for this very reason. Prepare your soil by putting it in a bucket or something to mix it in. Break up all the chunks and moisten the soil with a watering can; I do this under my kitchen sink with the sprayer. Once your soil is ready, start filling your trays, cells, cups, jugs, peat pots, cardboard egg cartons, or whatever you decide to use. Fill your plugs to the top with soil so your seeds have plenty of room for root growth. Whatever container you use needs to have drainage holes. Or skip the containers entirely and use soil blocks. I use plastic plugs with drainage holes that fit into water-tight trays and a clear plastic lid to capture humidity. I also love using peat pots in a tray for cucumbers, squash, and melons, which I will start later in the spring.
Once your soil and trays are ready, start planting! Plant your seeds in the soil according to the directions on the seed packet. A good rule of thumb is to plant the seed at the same depth as its thickness. Larger seeds need to be planted deeper, while smaller ones only need to be slightly covered. Some seeds are so tiny it may be hard to put only one per plug. You can sprinkle a couple over the soil and thin them out later. Do not forget to label what you plant! Note that several crops, including corn, beans, beets, carrots, and potatoes, do not transplant well and should be planted directly into the garden.
After planting seeds in the soil, water them so that the seeds settle into the soil and begin to germinate. Use a mister to keep the soil moist. Do not use a garden hose or watering can just yet, as this can displace the soil and seeds. When you first plant the seeds, clear plastic covers can be a great way to lock in moisture and heat and aid germination. After the seeds sprout, remove the cover so there is adequate airflow to eradicate disease and allow the plants to grow. When the seedlings take root in the soil, you can water them gently with the rain cap of a watering can or from underneath. The soil will absorb the water as needed if watered from underneath. If the seedlings are too wet, they can rot. Do not let the soil dry out after being planted. If they aren't moist enough, they will not germinate or will wither up and die if they have already sprouted. Check your seedlings daily to see if they need to be watered.
As your seedlings grow, you may need to thin them out. If several sprouts come up in the same plug, only allow one to grow. Leaving multiple starts in one plug causes none to grow correctly. Cut out overcrowded seedlings down to the soil base with scissors to avoid pulling out the roots of the seedling you leave. The one seedling will thrive without competition. After some leaves appear on your seedlings, fertilize with a water-soluble fertilizer. Dilute the fertilizer to ¼ the recommended dosage and fertilize weekly or every other week.
Once your plants get bigger and the last frost date approaches, begin training your plants for the outdoors by hardening them off. This is the process of gradually exposing your plants to nature's extremities. Do this by watering less and exposing them to more natural sunlight and wind. Hardening off must be done gradually. Don't set your plants outside in a storm with high winds. Set them outside in good weather every day for several hours for about a week. Each day that goes by, you can leave the plants out for longer and longer. Begin hardening off your tender plants about one week before planting them outside. Move your seedlings out after the last frost-free date, if not a week or two before, depending on the plant. Water your newly planted seedlings a couple of times a day for at least a week, then move to watering once daily.
Achieving a successful summer garden takes extensive planning and preparation during the winter. I encourage you to start small, try something new, plant a seed, and watch it grow. The seed you plant now might become a big fat tomato you put on your sandwiches in a few months! And that is the absolute beauty and joy of gardening.